The “image not available” error usually appears on apps, websites, devices, and even search engines. It ruins the user experience & affects website ranking. This warning message occurs when an image cannot load correctly. A corrupted photo, unstable internet connection, or broken image URL can trigger this error. Regardless of the reason, it can be fixed easily.

Well, this exclusive guide covers the possible causes and some quick fixes to solve image not available PNG or JPG error.
To fix image is not available, we recommend this tool:
This software will repair grainy, distorted, pixelated, blurry, greyed-out images and restores your prized memories effeciently. Now repair your corrupt or damaged photos in 3 easy steps:
- Try this Photo Repair Tool rated Great on Pcmag.com.
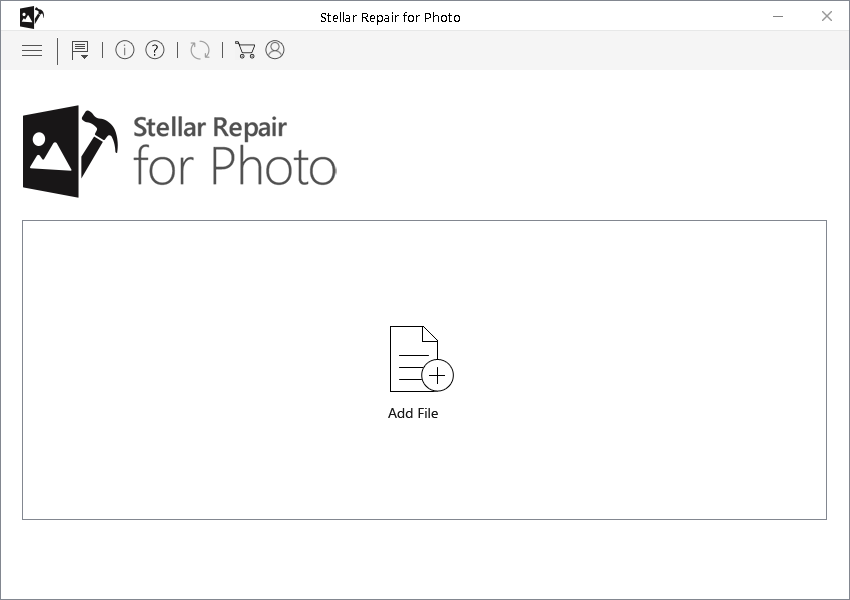
- Click Add File to add the photo you want to repair.
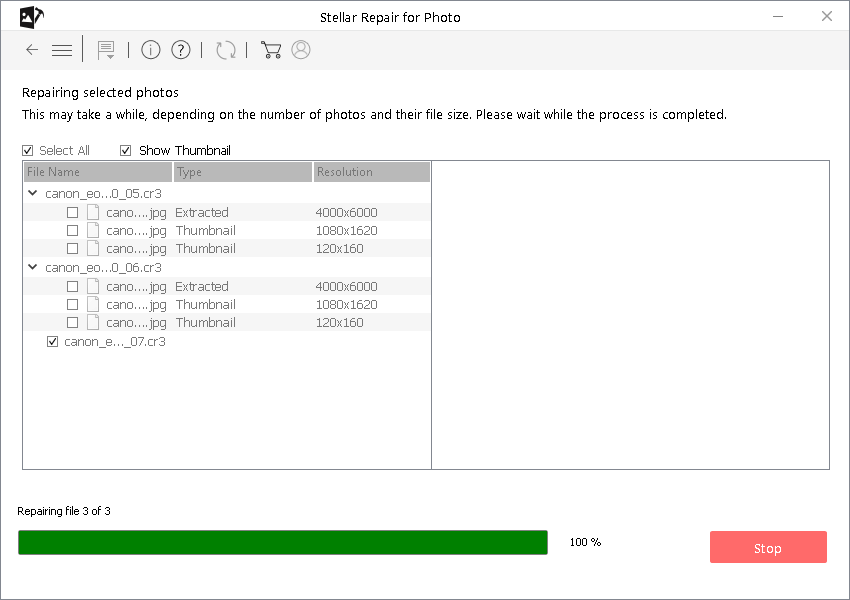
- Select Repair to start the repair process and save the repaired image on the desired location after the repair is done.
Why Is the Image Not Available?
A wide variety of reasons can contribute to this error message. So, let’s identify the cause first to pick the right fix.
- Due to incorrect or broken image URL.
- Weak or unstable connection fails to load the image.
- Corrupted image file
- If the photo is deleted or moved, the server returns an error when requested.
- Browser cache problems
- Old cached data prevents updated images from loading correctly.
How to Fix Image Not Available Error Successfully?
Ensure to follow the below stepwise tricks to deal with this hectic situation.
Method 1- Check & Update Image URLs
An incorrect image URL cannot load or show the image. Therefore, verify the image path. Ensure the file name, extension, and location match the exact URL. After updating, clear the cache to reload the latest version.
Also Read: Fix Distorted, Flashing or Skewed Images
Method 2- Check Your Internet
As I already stated, a slow internet connection can sometimes lead to image not available PNG or JPG. Nevertheless, if you want to load the picture without any interruption, ensure that you have a steady network connection, especially for HD-quality pictures.
Method 3- Repair Corrupt Image Files
When it comes to fixing corrupted, broken, or inaccessible photos, using the Photo Repair Tool is the best choice for users. This repairing software has the ability to solve all kinds of image-related problems with 100% integrity.
Though it can repair image files like JPEG, CRW, PNG, BMP, TIFF, RAF, ARF, NEF, CR2, GIF, etc. Moreover, it is easy to use and is compatible with both Windows & Mac OS.


* Free version of this program only previews repaired photos.
So, just download, install, and try this tool to deal with image not available error.
Step 1: Download, install and launch Photo Repair Tool on your computer. Click on 'Add File' to repair corrupt/damaged image files.
Step 2: You can then select the files for repairing. Next, click on 'Repair' to begin the repairing process.
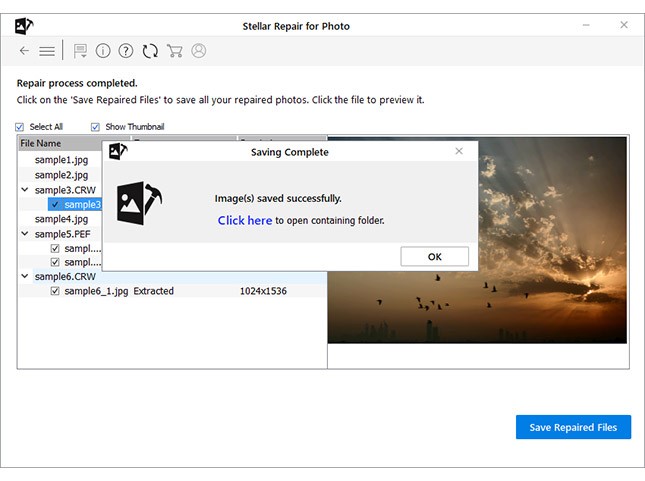
Step 3: Finally, click on 'Save' button to preview and save repaired images on your desired location on the computer.
Method 4- Clear Cookies & Cache Data of a Browser
Many times, clearing the browser cache & cookies can fix several unexpected glitches, including image unavailable. So, opt for clearing your preferred browser’s cache & cookies to tackle the situation.
Follow the steps below according to your niche:
For Chrome Users:
- Open Chrome>> tap on More.
- Choose Clear browsing data >> click Advanced>> then All time.
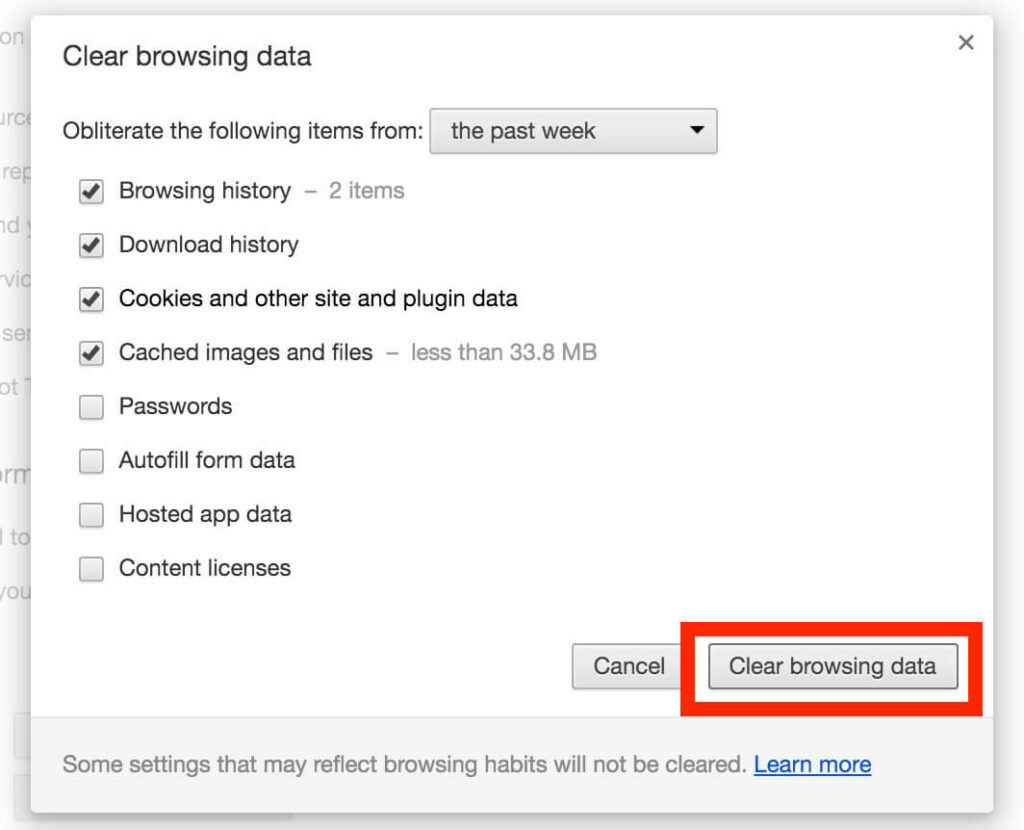
- Now, ensure to check both boxes for cookies & other site data & Cached images & files.
- Lastly, tap on Clear data
For Firefox Users:
- Open Mozilla Firefox >> click Menu option >> Settings

- Next, click “Privacy & Security”.
- Find and click on Cookies & Site Data >> Clear Data.
- Now, check the box Cookies & Site Data >> then Cached Web Content.
- Finally, click on Clear option.
Also Read: Methods to Fix JPEG Invalid Image Error!
Method 5- Restore Missing Files on the Server
Another working method you can try is to ensure that the image exists in the precise folder. Simply re-upload any deleted/missing files and check for the problem. Also, avoid renaming files after linking them.
Method 6- Convert The Current Image File Extension
If you are facing image not available error with a specific file format then try converting it by following the below given steps:
- Open the current image in Adobe Photoshop app or any other photo editing program.
- Save the that photo with the different file formats.
- Now, go to the “File” >> select “Save As”
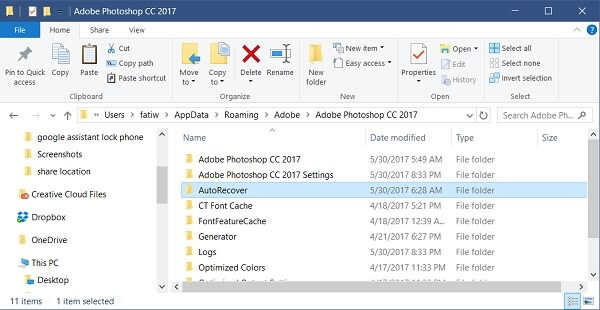
- Under the Window, select the file extension to another photo file format such as .png or .bmp & click on “Save” to save it with a new file format.
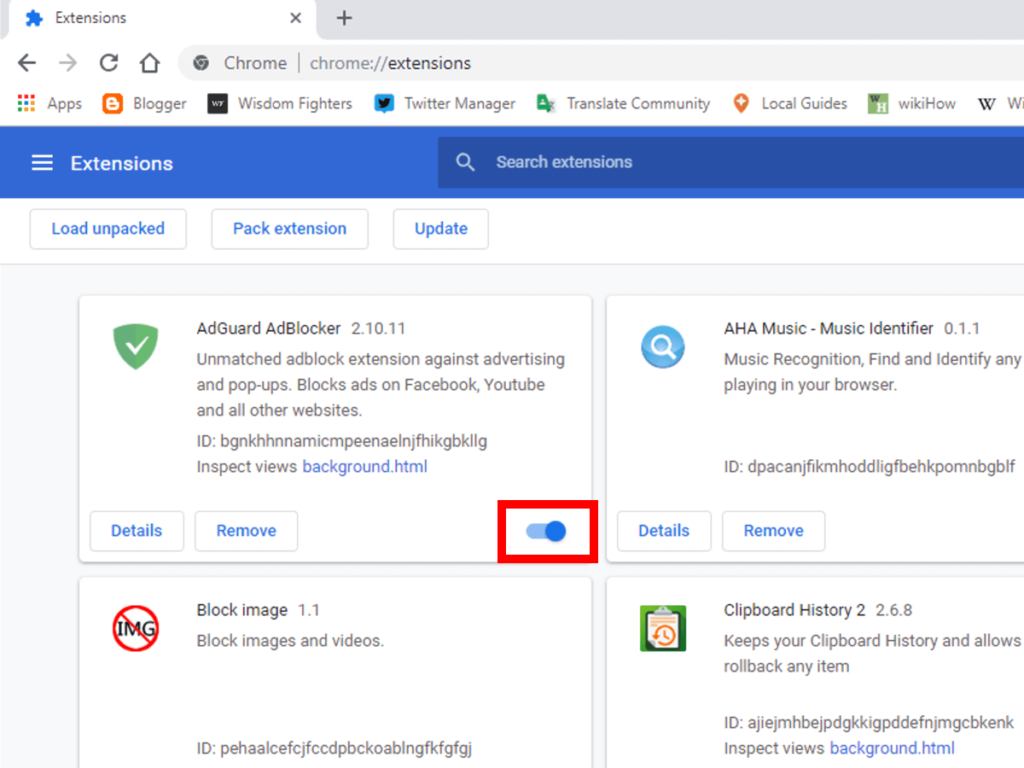
Method 7- Fix Image Not Available Error by Disabling Browser Extensions
Some extensions may block the images to load in the web browser. So, consider disabling them one by one to identify the problem and fix this error.
For Chrome Users:
- Open Chrome browser >> click on 3 dots (Menu).
- Choose the “More Tools” >> find “Extensions”.
- At this time, toggle off the extensions that are no longer required.
For Firefox Users:
- Open Firefox >> click 3 dots menu.
- Next, click on the Add-ons & Themes, then Extensions.
- Then, scroll to all the extensions.
- Disable the extensions that are no longer required.
And you are done!
Also Read: Fix Pixelated Image – 5 Proven Ways to Unpixelate Image
Frequently Asked Questions:
To enable images in the web browser, follow the below steps:
A PNG picture may not be showing due to corrupted file, your image viewer is outdated or has problems, or there is a problem with the photo association on your PC.
To fix invalid image error, try these methods:
A JPEG image may not visible because it is corrupt, or the program trying to open it has an issue. How Do I Enable Images in My Browser?
Why Is My PNG Image Not Showing?
How to Fix Invalid Image Error?
Why Can't I See JPG Images?
Final Verdict
An error image not available PNG or JPG can really ruin our visual experience. Therefore, it’s important to fix it using the correct method. Above, in this post, I have provided a few workable solutions for this annoying error.
All the methods are very effective, but using the Photo Repair Software is the best of all among them.
Hope you enjoyed reading this post!


Taposhi is an expert technical writer with 5+ years of experience. Her in-depth knowledge about data recovery and fascination to explore new DIY tools & technologies have helped many. She has a great interest in photography and loves to share photography tips and tricks with others.